I really like 3D printing, still consider myself a beginner
A few days ago I saw that Anycubic have a new resin called “High Clear” and I really want to test this, I just needed to come up with a design for it.
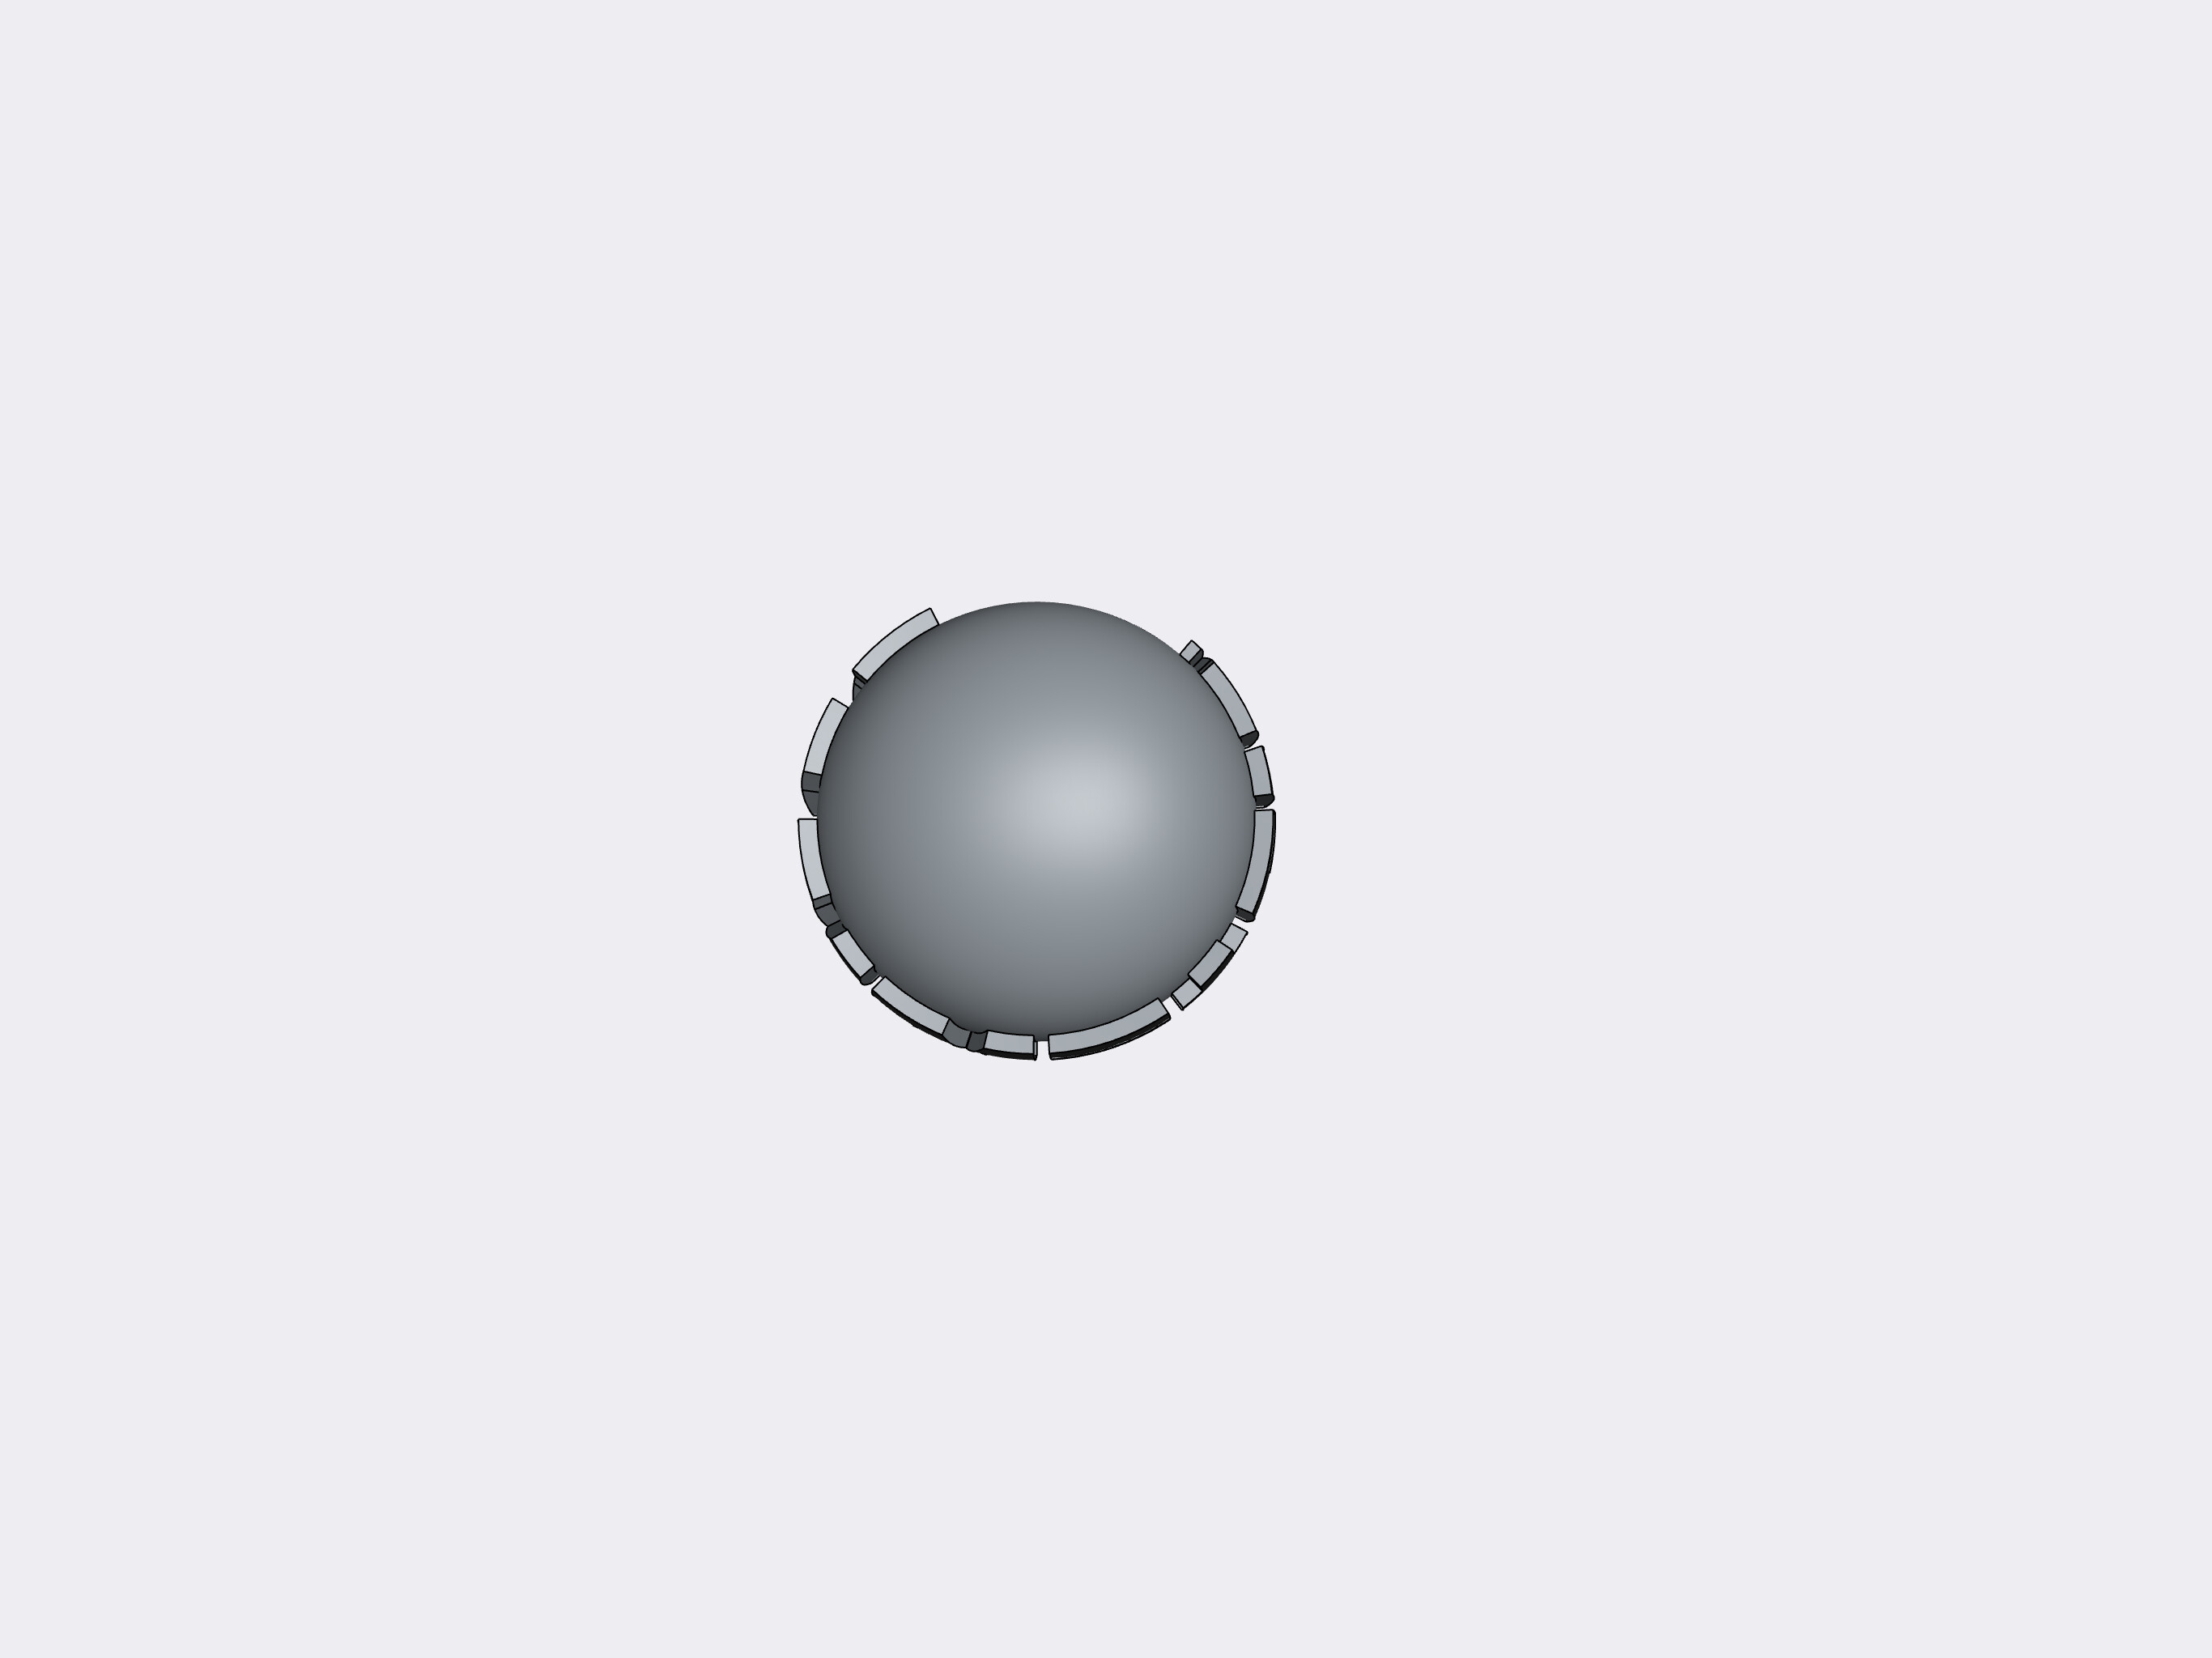
I love Rammstein, so why not design a “Crystal Rammstein Sphere”.
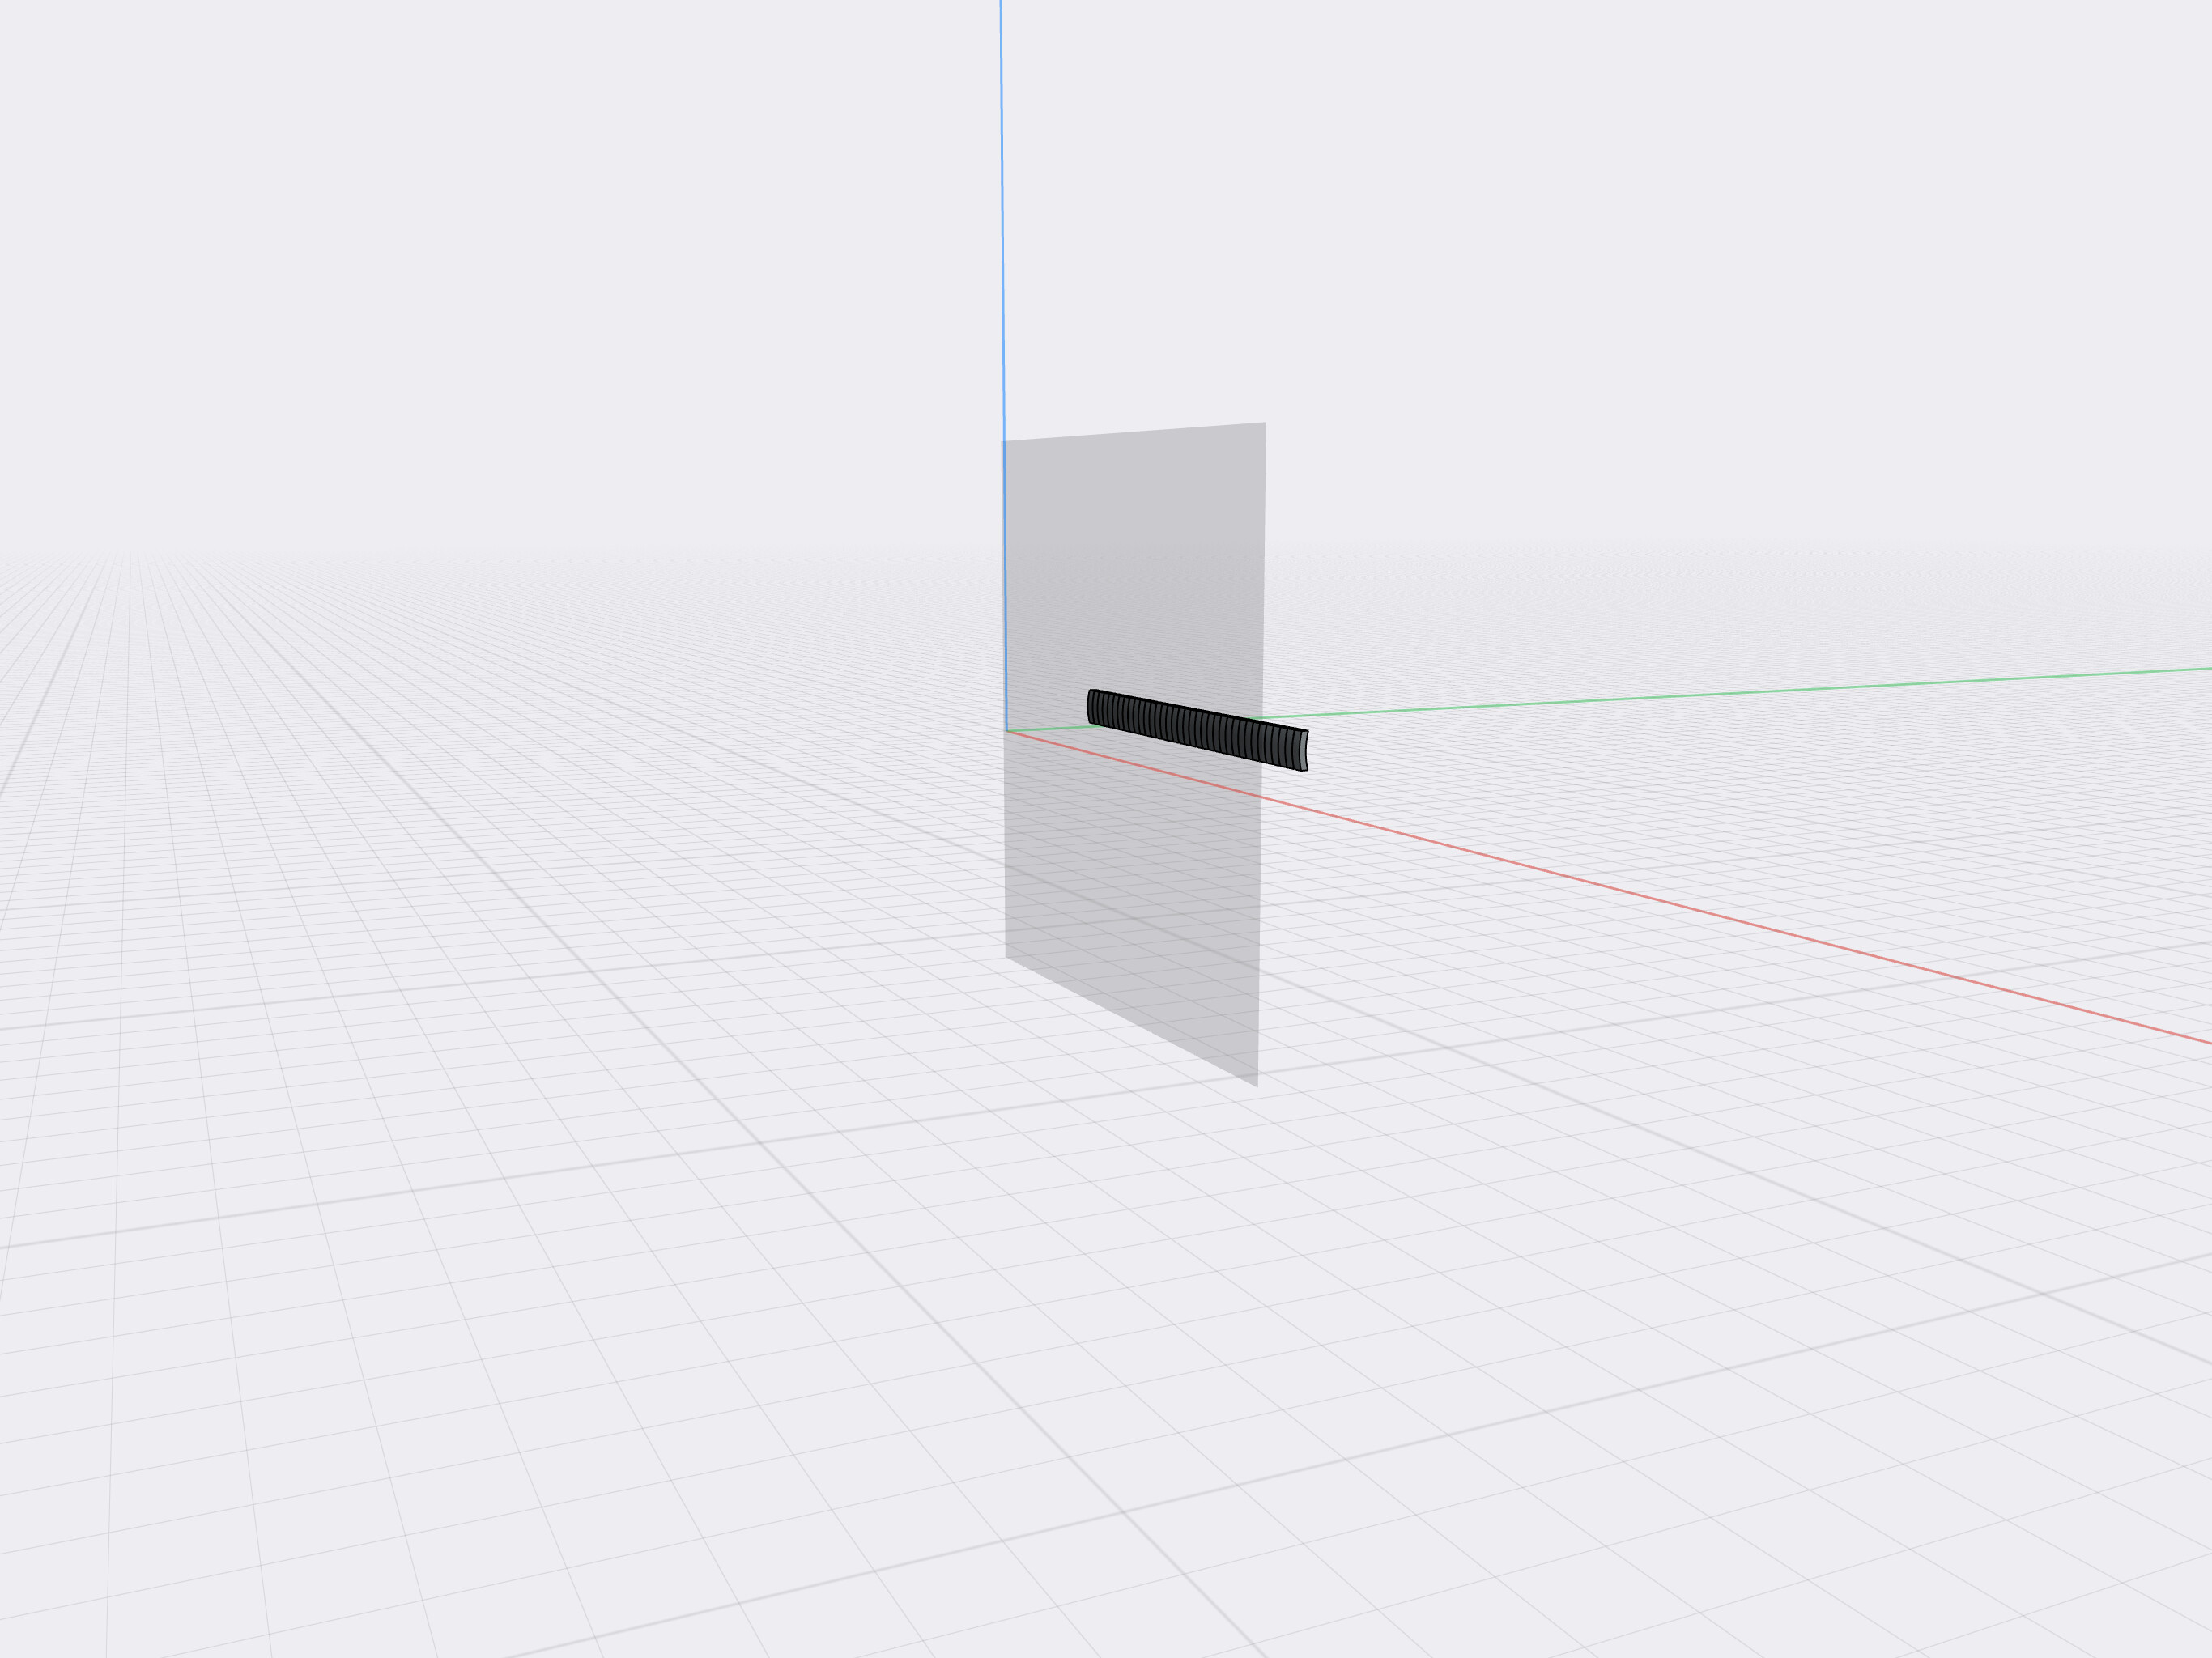
This is as far as I have come at the moment, love the visualization tool.
Next thing is to design a nice stand for the Sphere.
When it’s finished my plan is to equip it with sound sensors and LEDs that will make the sphere flash with the music
I suspect it will be some trial end error for this project
I have a few years experience with FDM 3D printing but I’m rather new to Resin printing. I bought an Anicubic resin printer earlier this year. I just purchased their High Clear resin and it should be delivered within a week (on sale in US & Canada). I too have some interesting test prints to make. Good luck with the Sphere, it looks interesting.
I am very excited about this resin, I hope it is as good at it seems
I will buy the Anycubic Photon Mono M5s since it is bigger than my current one and get going with my test projects.
There is a very good review about the high clear resin online that also gives some interesting tips about post processing for best results. Check out www.fabbaloo.com
Good luck with your projects
Can you make the sphere hollow with the letters cut out? Was thinking it could been a cool lampshade would love to try printing it out iw you would share it?