Wondering if anyone could point me in the direction of how to create leading lines for a miniature (dollhouse size) stained glass lampshade like in the pic attached. Thanks!

Hi and Welcome,
Try to Tools > Project a part of your pattern and duplicate it with Transform > Revolve or transform Move/Rotate
Keep in mind a stained glass lamp shade is either flat panels or small flat mosaic pieces. They don’t really use curved glass often if at all. That would take a master making his own custom glass. I am part owner of a small personal glass and clay studio. A collective if you will. I could curve the glass in our kilns but time would be prohibitive for a hobbyist. Have to make the molds and slump the glass.
Th shade you have shown would be reminiscent of a plastic injection, not glass.
Approach it like using flat panels might be best. You have 8 slices of lamp shade. Each slice could be separated into several horizontal sections to simulate the curve. Carefully drawn sketches for each panel to project to the panels. Use their edge curves to make a square pipe or “H” shape to simulate the lead came.
I can demonstrate later when I feel better. I’m am likely sick with Covid. Every square inch hurts like no flu I have ever had.
Thanks! That would be so helpful! Hope you feel better soon.
So your basic shade comes first.This is the easy bit. Quick and dirty to give you an idea. IF this method looks like it works for you and you want the next installment: adding a pattern to the glass and the came lines it will have to wait a while. Sick as I am (starting to mend) I gotta go fix and electrical issue for my elderly neighbor who has no heat. Amazon just delivered the part I needed. And it’s raining ![]()
Hi,
Here is a test on the lampshade.
You can see the sketches in attached images.
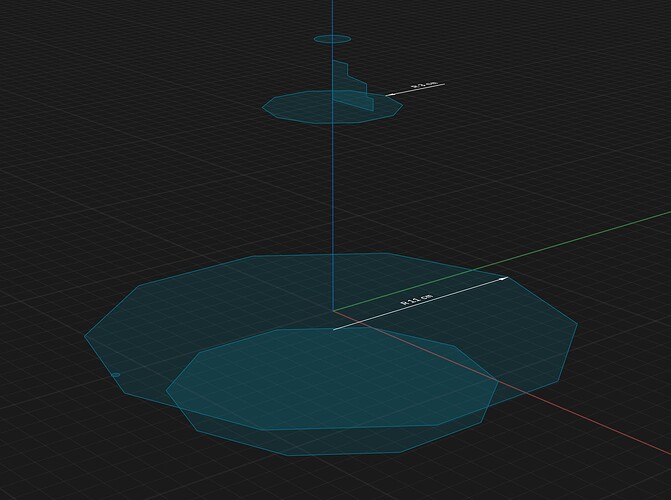
I used Loft function for the lamp base. (10 facets)
Shell so that it is hollow.
Sweep for leading lines.
Revolve for metal part.
It’s really raw, I didn’t go into the details but the principle is there.
Here’s an interesting and probably an unconventional approach although a bit tedious. A series of sweeped projected lines on the lampshade surface.
Okay so here’s the rest of my thought process. It will be lacking details but you should see where I am going. If you have questions feel free. There will be lots of tedious work to pull it off:
You likely don’t need to do the cut gaps as if it was real glass.
Thank you so much!
Thanks so much!
Unless I am missing something which is entirely possible, your method falls down when it comes to coloring the patterns projected on the “glass”. Probably not an issue for most case usage?
Well, Mike and jean-philippe2 method is easier and valid. Jury is out on the results Depends on what the end result is I suppose. Fun stuff!
Not a problem coloring patterns after a union between leading and lampshade.
Much leeway here as exactness is not needed. The original request was help for making a miniature (dollhouse size) stained glass lampshade.
Well done TigerMike !
Hi, I know it’s been awhile but I just got back around to messing with this. I keep watching your video and I can’t figure out how you are turning the sketch lines into the bigger tube like things. Are you using sweep? Also is there a good video on that because I can’t seem to make the sketch lines look like that after I project it on the circular object. I’m really new to this. Also I’m using the free version until I can sorta get understand how all this works.
Hi Julie,
Yes, I used Sweep to create the stained glass looking beading.
After projecting lines on the lamp, add construction planes (on curve at point) at each projected line segment. Do a Union then use Pattern to make the circular copies.
Here’s a short example. Let me know if any questions.
And here’s a bit of a shortcut.
Thank you for the information. ![]()
Sometimes the well-kept that worked a lot in the theory, but in practice it fails.
Maybe it’s because technical knowledge is missing.
To interpret humorously


