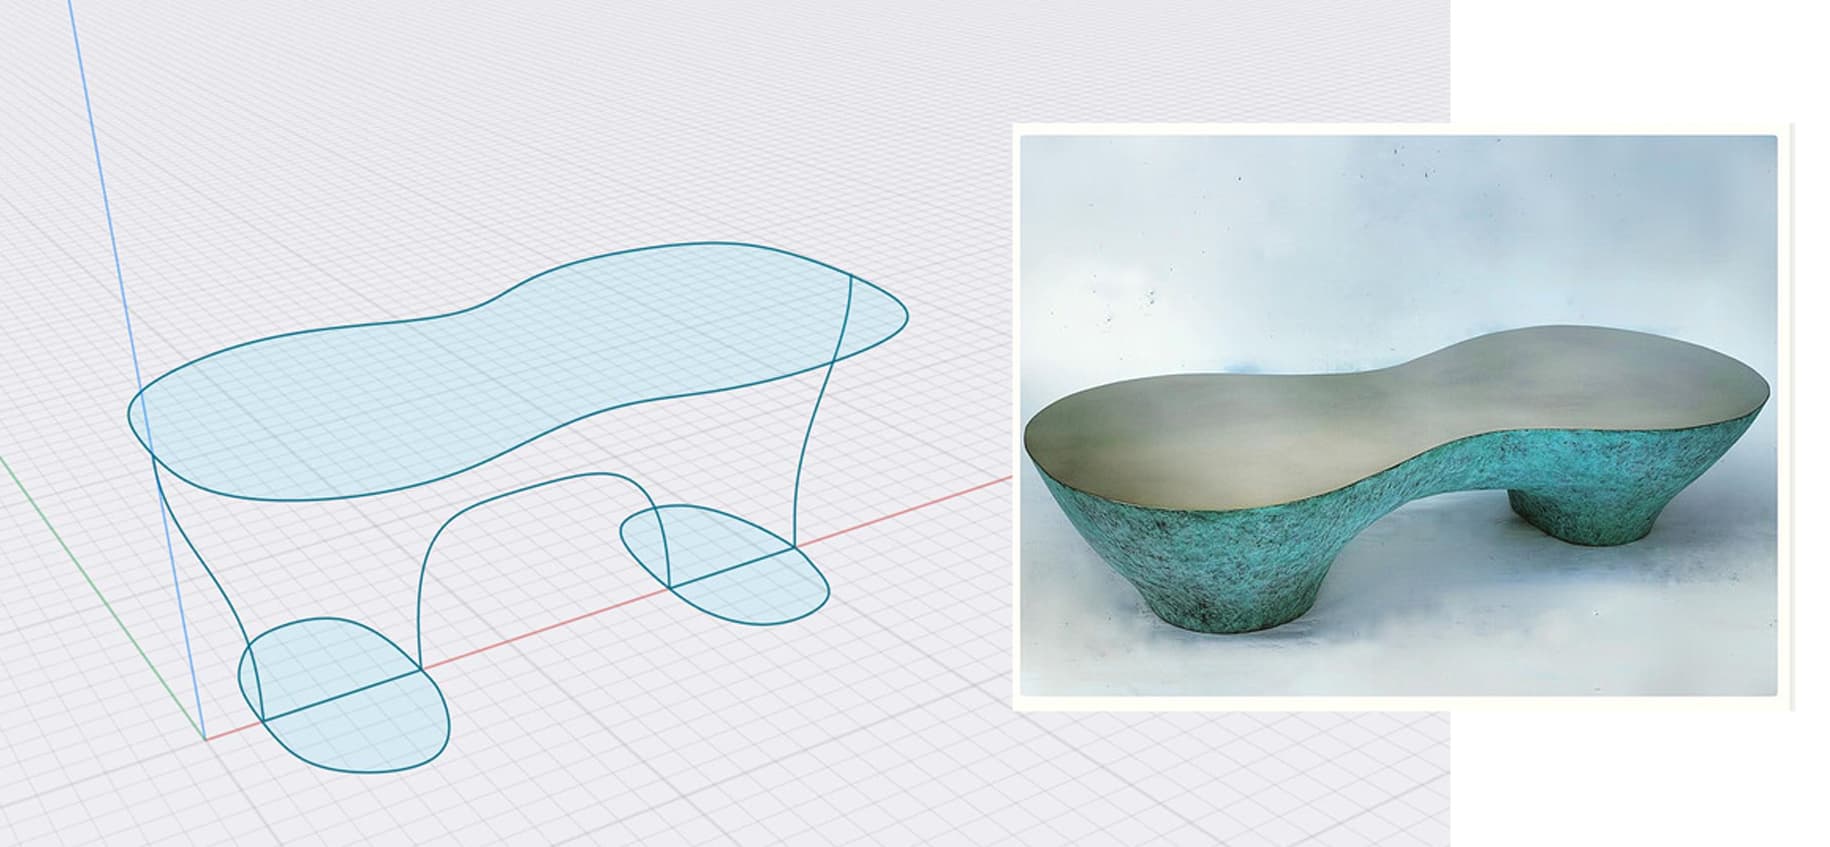
I am quiet new to shapr3 but experienced in other 3D programs… I would like to sketch some organic shapes. Attached you‘ll see a. Shape. I really have no clue how to create this kind of shape and then play around with the shape to alter curves, heights etc. Anybody feels like giving me a hint? THX!!
Thx but the detailed work on the cur’ves/shape is most important. Attached you‘ll see how I started but I cannot loft those 2 base with the top peanut…
Hi, Thank you so much for sharing your approach. The only issue is that from a design point of view, controling all curves are crucial. In this approach, the rotation of the top creates the main curve…
There must be a way in which I can loft with guidelines this body…
I understand your desire for accurate curves but consider this- once the organic body is complete, whether shelled or not, it cannot be easily edited. It would be easier to tweak the sketch(s) and create a new. After all, Shapr3D is a direct modeler and not a surface modeler. Looking at your picture and your sketch with guides for lofting, I wonder where you want the accuracy. The picture of the shelled peanut with legs appear to be both left-right and front-rear symmetrical. Even if it was possible to do a guided loft as you initially sketched, I wonder if it would give you the desired result.
Within Shapr3D’s limitations, your new shape could be constructed more accurately in pieces as in my example. Perhaps you can do a Loft with the main peanuts shape initially instead of a revolve.
In this video I show an interesting use of Loft after I project a curve on the curved body. This may work by projecting a more accurate curve sketch on the peanut body. Let us know how things progress.
I was able to do a guided loft on one leg where the larger curved line is projected on the peanut. This version is much cleaner in my opinion. Now it’s a matter of making the peanut shape itself more to your liking. (Sorry about the speed which was needed to fit in 10mb.)
Thank you @PEC. Here’s an interesting phenomenon. Doing a guided loft with this method produces a contoured end surface. It’s as if Guided Loft meets Replace Face.
You are most welcome @Propboy.
I am struggling quite a bit lofting like this, i am trying to make a organic shape of a pebble and it doesn’t want to loft. It keeps saying “All profiles should be position won’t self-intersect”
I really don’t know what i should do can someone please help