Well, I’ve been playing with Shapr3D a couple of months now and so I decided to try an ambitious project. I’m going make the drone from the movie “Oblivion” and post pictures of my progress here if that’s okay. It will probably take me a fair bit of time to do as I’ve no previous CAD experience (although I do use ZBrush for sculpting), but I’ve gather up enough reference pics from the web to get started today.
I will likely make some mistakes and the more experienced CAD guys here will have better and faster ways to do it, so I’ll appreciate any tips.
So here is todays progress.
I decided to do the main body sphere, side covers and guns etc. one side at a time and then mirror the parts over to the other side. So here I’ve did the left side, shelled it and used an ellipse mirror up and extruded through in four places around the body edges. These form the vents for the drone.
After shelling, I added a lip to the cover and and a part in the body edge for it to fit into. It rains a lot here in Ireland and our drones would rust in no time if the covers didn’t close snugly
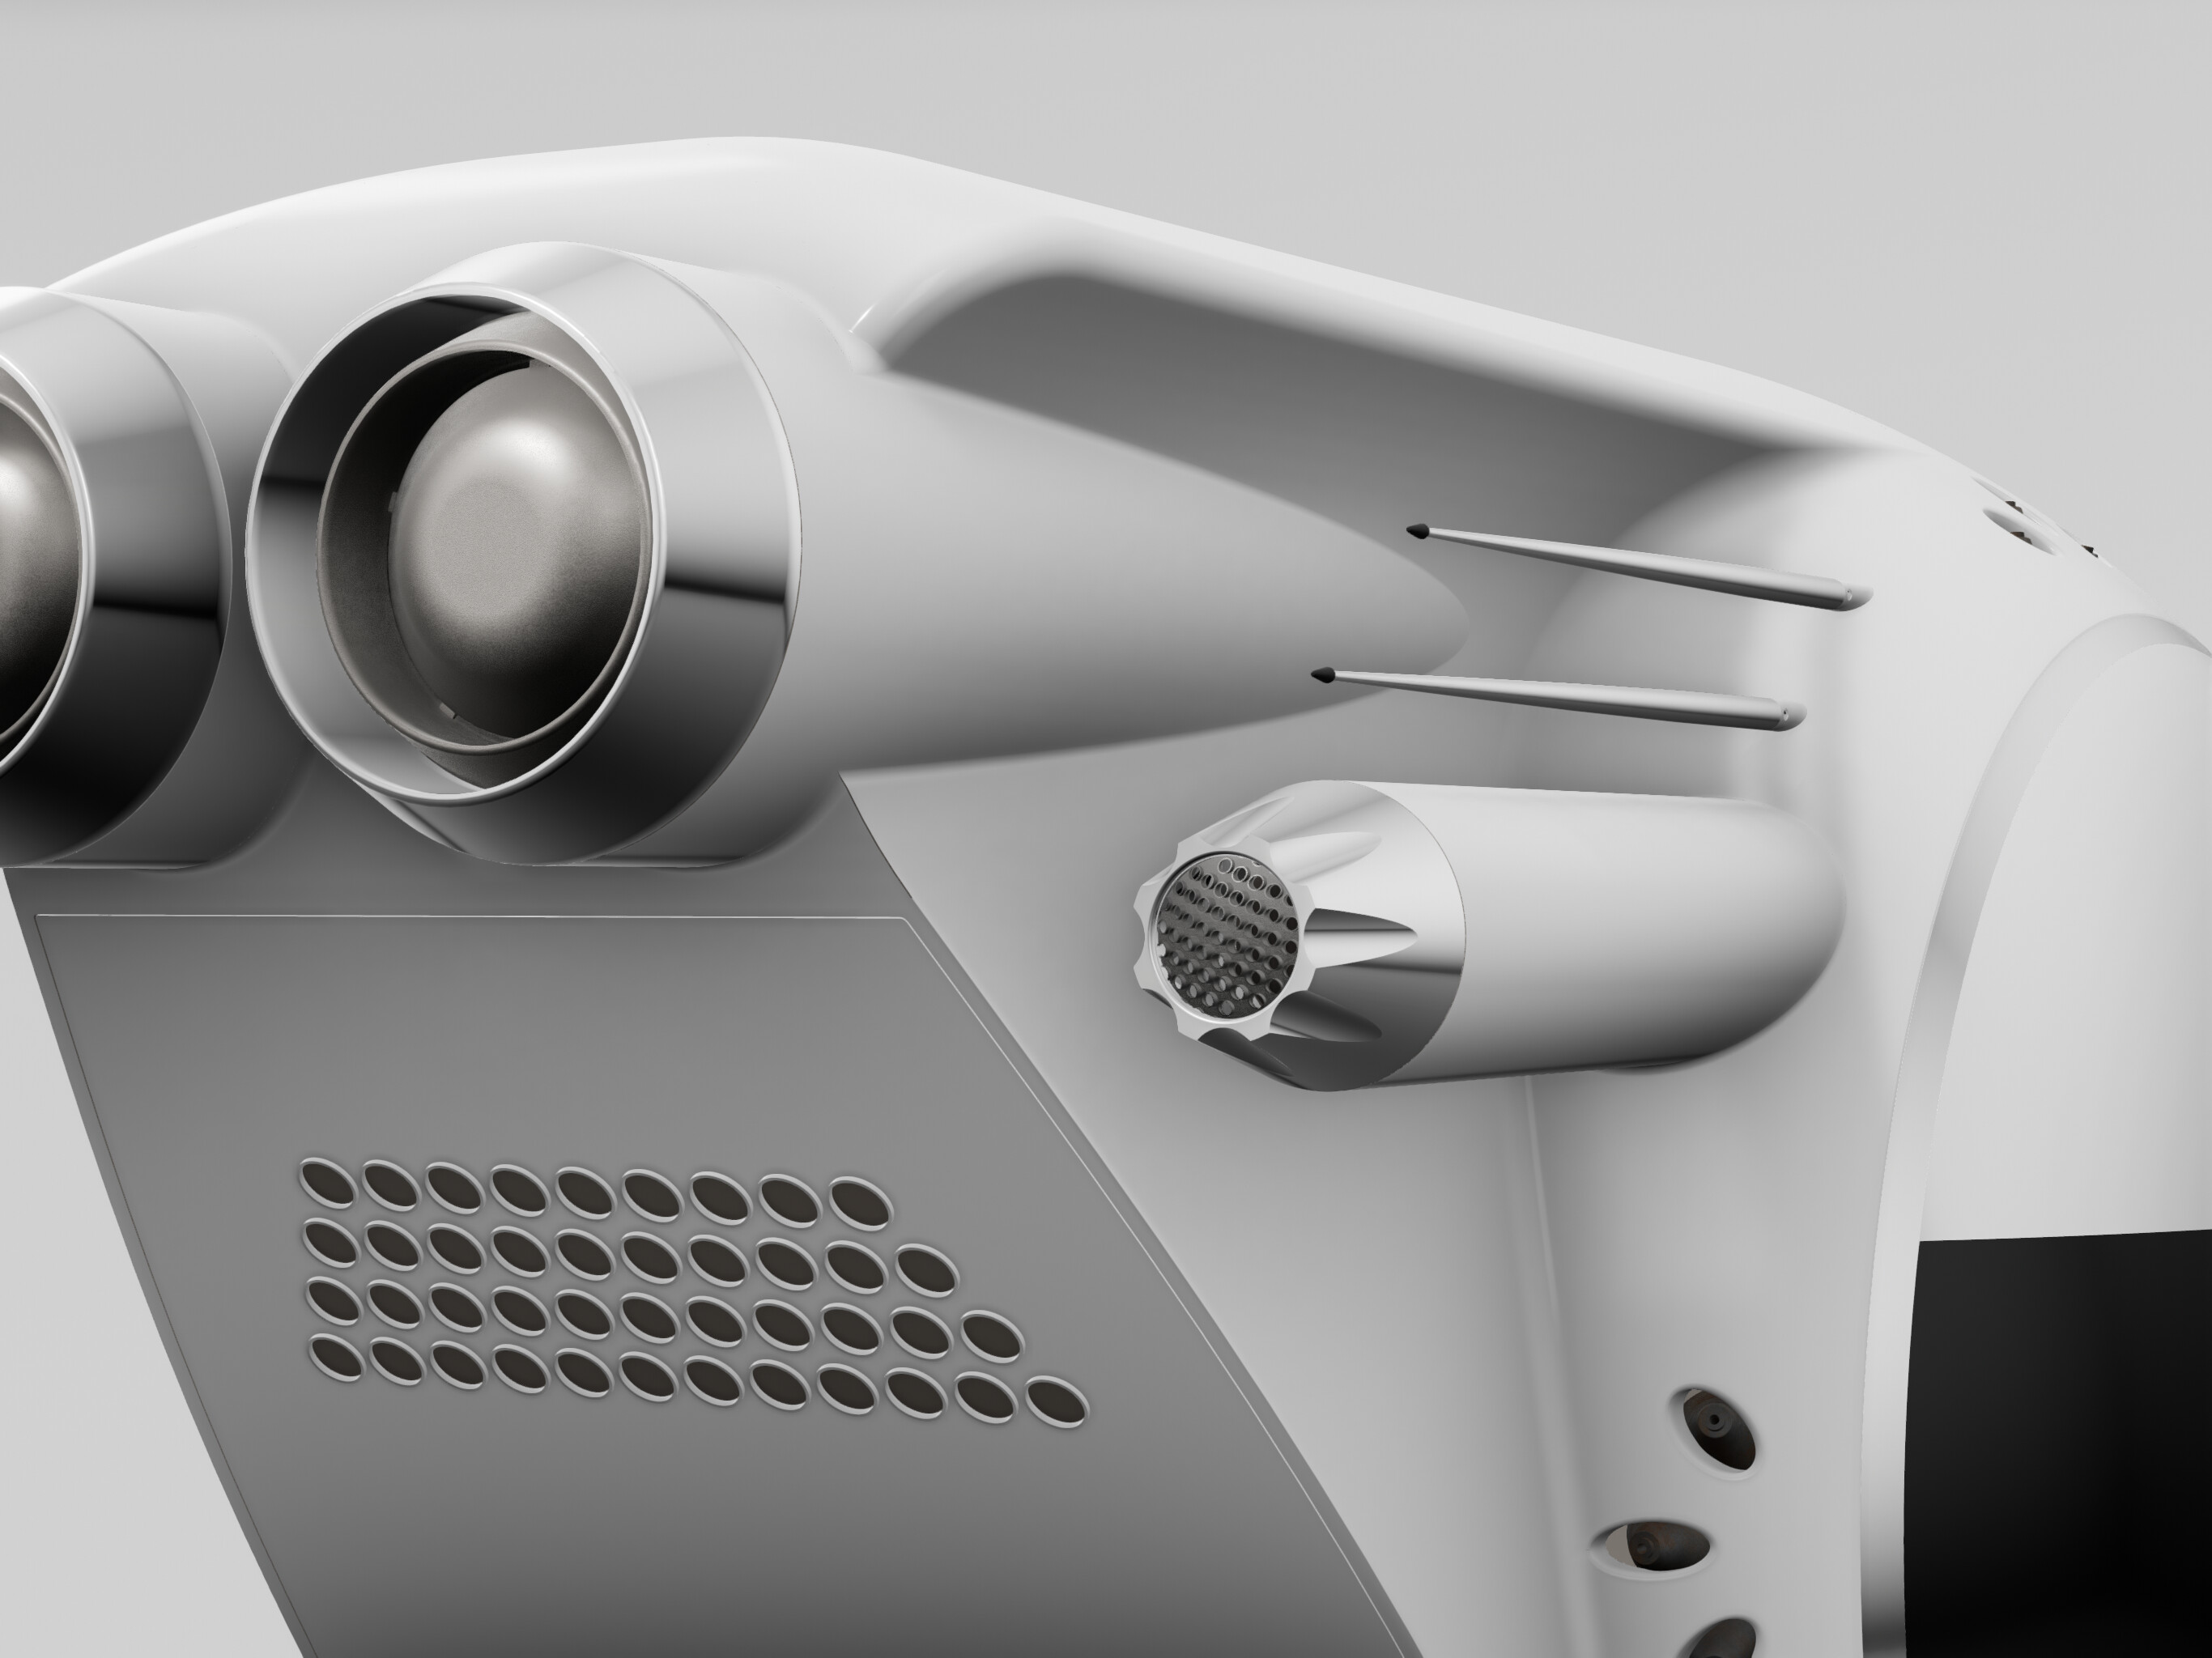
I got the upper booster jets done today, then played around with fillets on the body until I was happy with it. I went back to the guns and made some changes as I wasn’t feeling the love for the results yesterday.
@SteSchmi. Thanks. I too enjoyed that movie. The chase scenes with the drones was amazing, a lot of thought and effort must have gone into their flexibility of movement and speed.
Well here’s my final update for tonight. I tackled the big jet engine and it took me a couple of hours to do the flaps and inner vanes (probably half that time thinking about how to do it first).
I made a ring for the flaps and rotated a thin rectangle to make gaps.
I had a tough time making the vanes for inside the engine. I used the same method of thin rectangles to cut the gaps but it took almost an hour because some of the cuts wouldn’t go through. To be fair, it was a lot for the ipad to handle. I went and made tea and everything went fine after that.
I’m pretty pleased with the results, especially considering that I winged it one step at a time.
I remade the centre cone in the engine as on closer examination I realised the original one wasn’t properly symmetrical.
Added some clean metal materials (titanium and rough aluminium) in Visualisations to make things easier to see inside the engine.
The work you have done on this is utterly ridiculous (in a complimentary way) this is soooo cool. I can only hope to be able to recreate something as on point as this. Well done! And on an ipad….crazy! This software is just awesome
Thanks for the compliments . Ive only been using Shapr3D for half of this year as a hobby. My main job isn’t related to this area in any way, which leaves me little spare time to learn or study new software products. The very low learning curve of Sculptr3D compared to most other modelling and sculpting software makes it easy for anyone of any working background to tackle complicated projects earlier on.
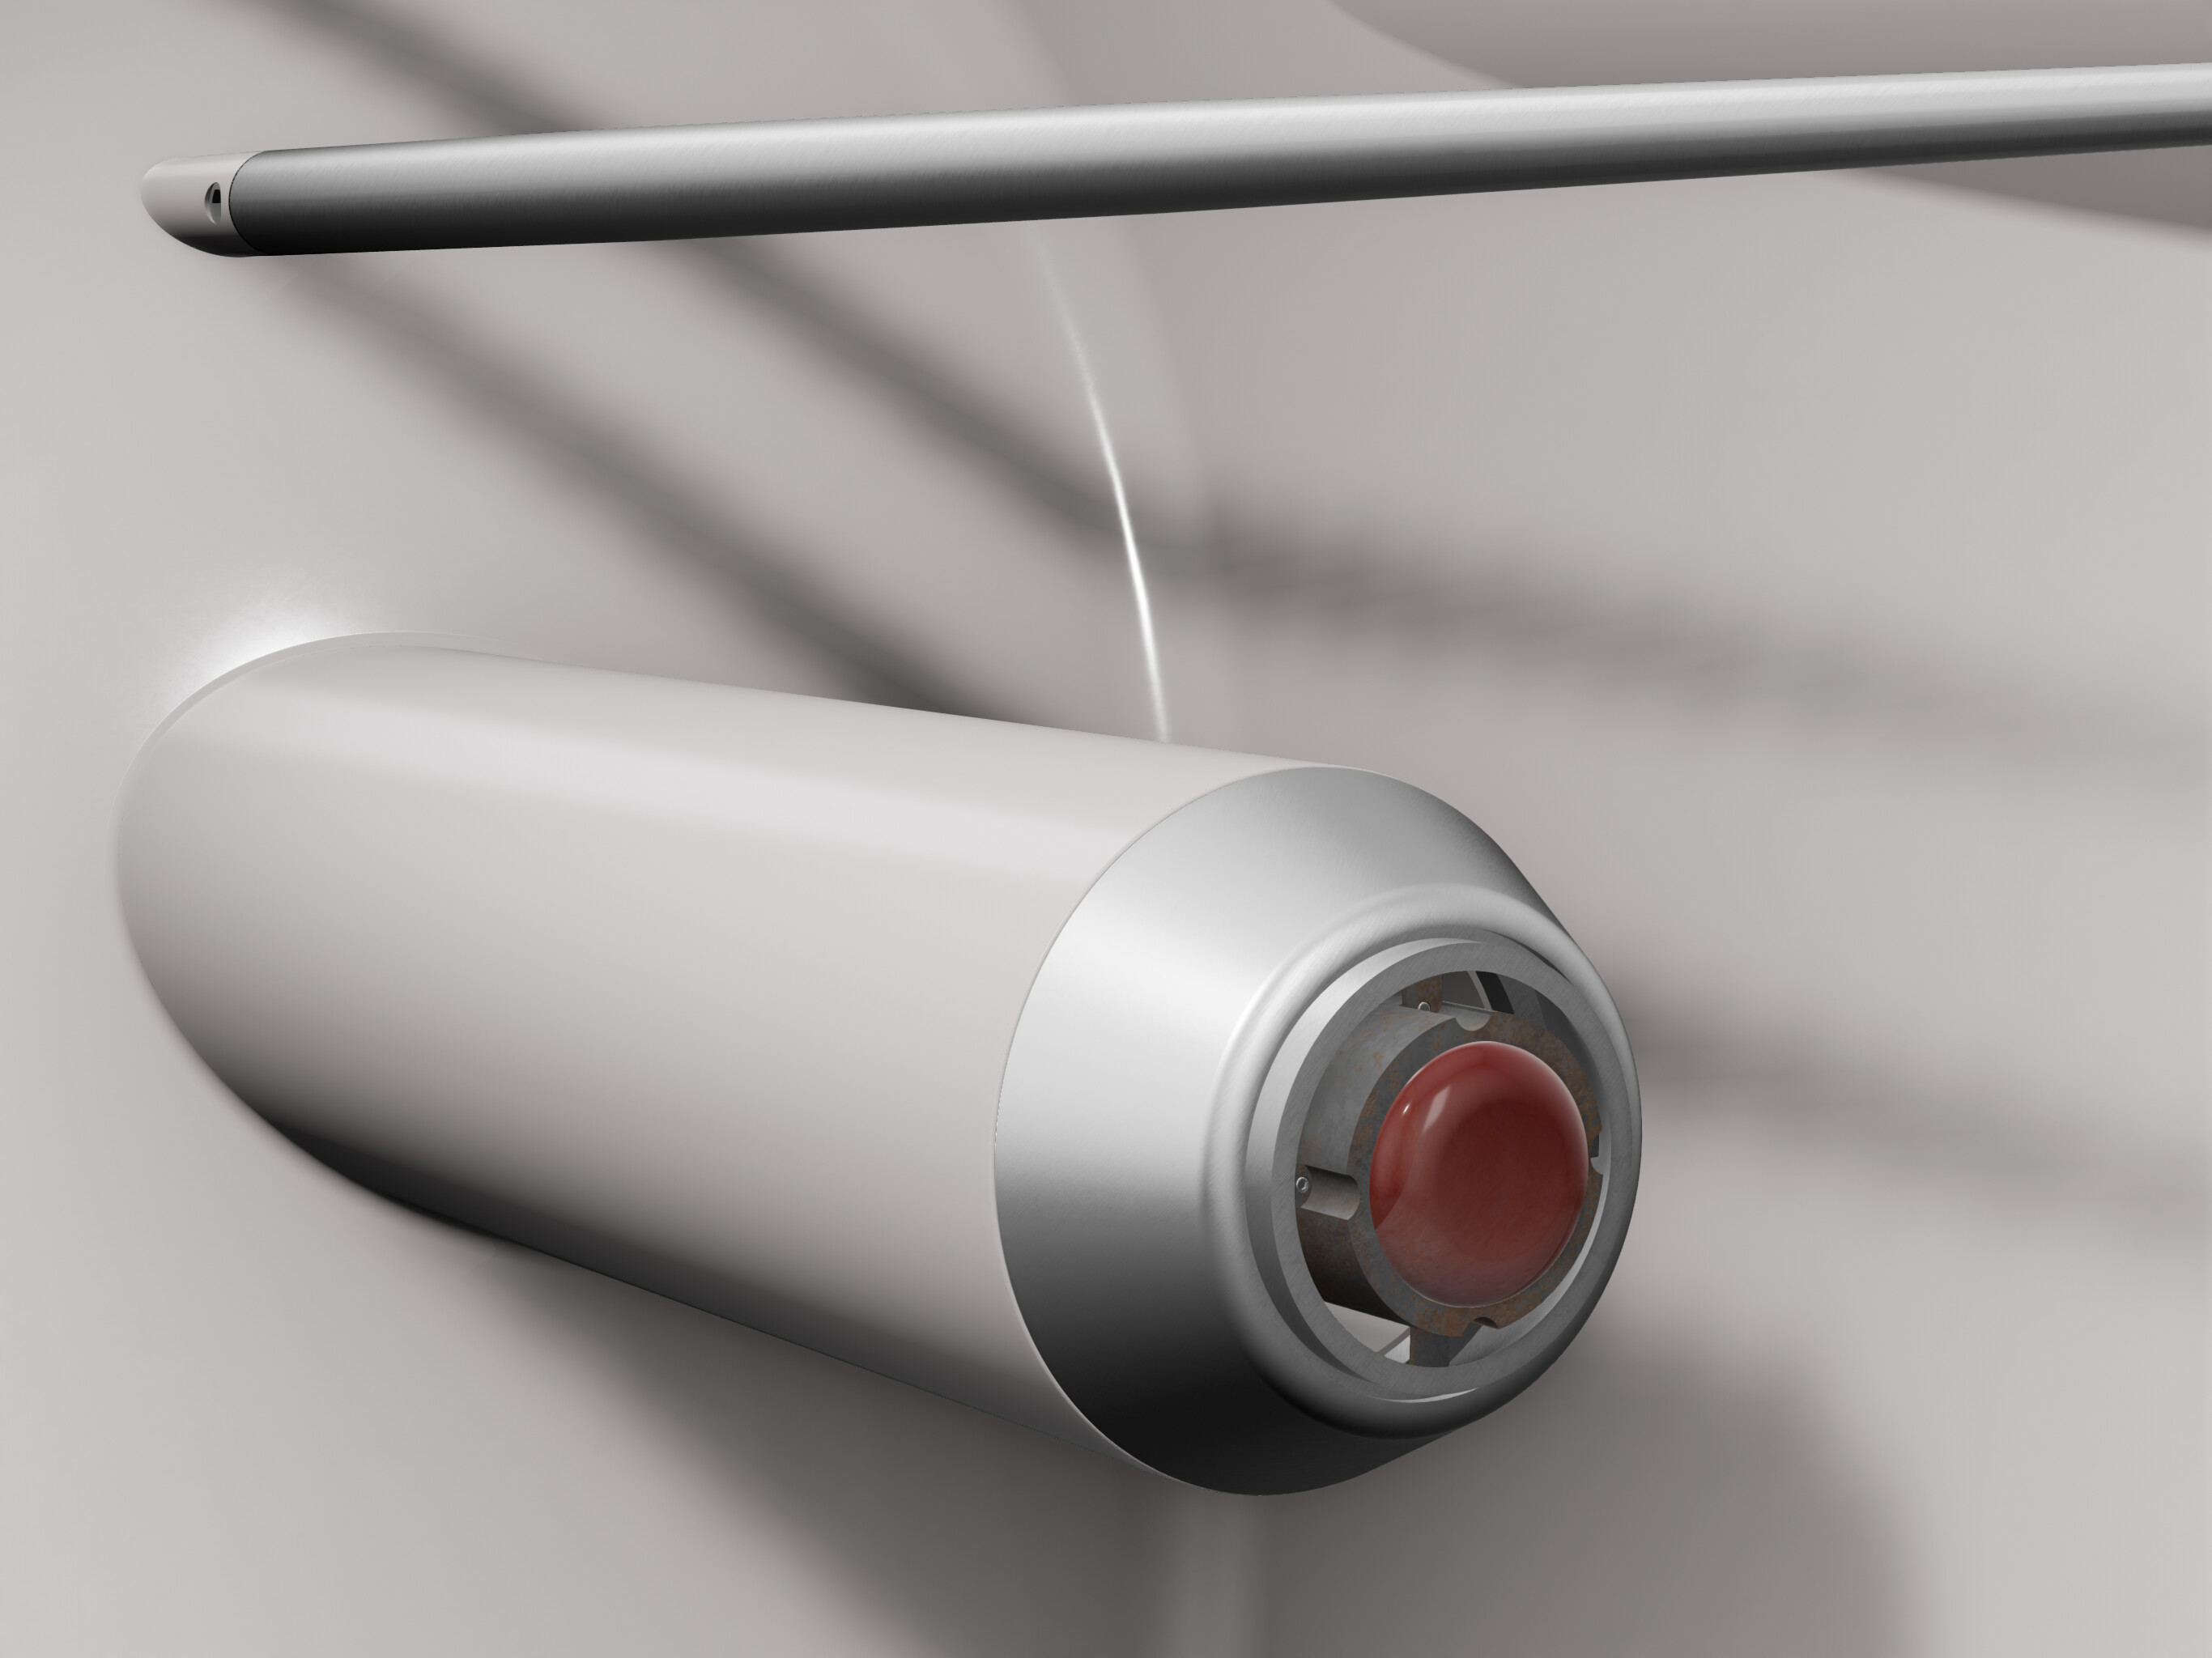
I fattened out and made some other changes to the rear left motor. Added gaskets between the antennas and mounting points. Added screws to the rear panel. Left the guns alone as I’m happy with them now. I think .
I made the front side sensor, housing and ring. Made an eject slot in the sides, for spent bullet casings. Made the holes in rear panel deeper. Some Cadmio renders using indoor and outdoor environments.
I added metal straps inside the upper engines, by sketching the straps and then duplicating the baffle each one fits over, duplicating the baffles and using the subtract tool.
I’ve started on the front face and made the shroud. I wasn’t looking forward to this part and expected some problems with proportions as I know others have, but I took my time with the sketches and didn’t rush it and I believe it turned out well. I used Visualisations for these pics.
I’ve finished all the main bodywork now, except for adding text and labels once all the faceplate modelling is done. I’ve started on that today, blocking out test pieces to check my sketches are correct. Progress will be slow from here on as I’m back in work tomorrow after my holidays