For my current project I am working on the design of a model airplane (Wildfire) in the category control line F2B aerobatics with a wingspan of 1500 mm. A friend is building these type of airplanes for his hobby and flies them on tournaments. He asked me as sparring partner in order to design a model airplane that can be produced using a 3D-printer with PLA and LW-PLA filaments based on STL-files. Up to now these airplane models are made up of balsa wood.
The pictures presented in this case are generated via eDrawings Viewer (SolidWorks) from an EASM-file exported from my 3D-CAD program (CoCreate Designer Modelling 2006 - direct modelling) running on a “vintage” HP Pavilion computer with Windows XP as OS.
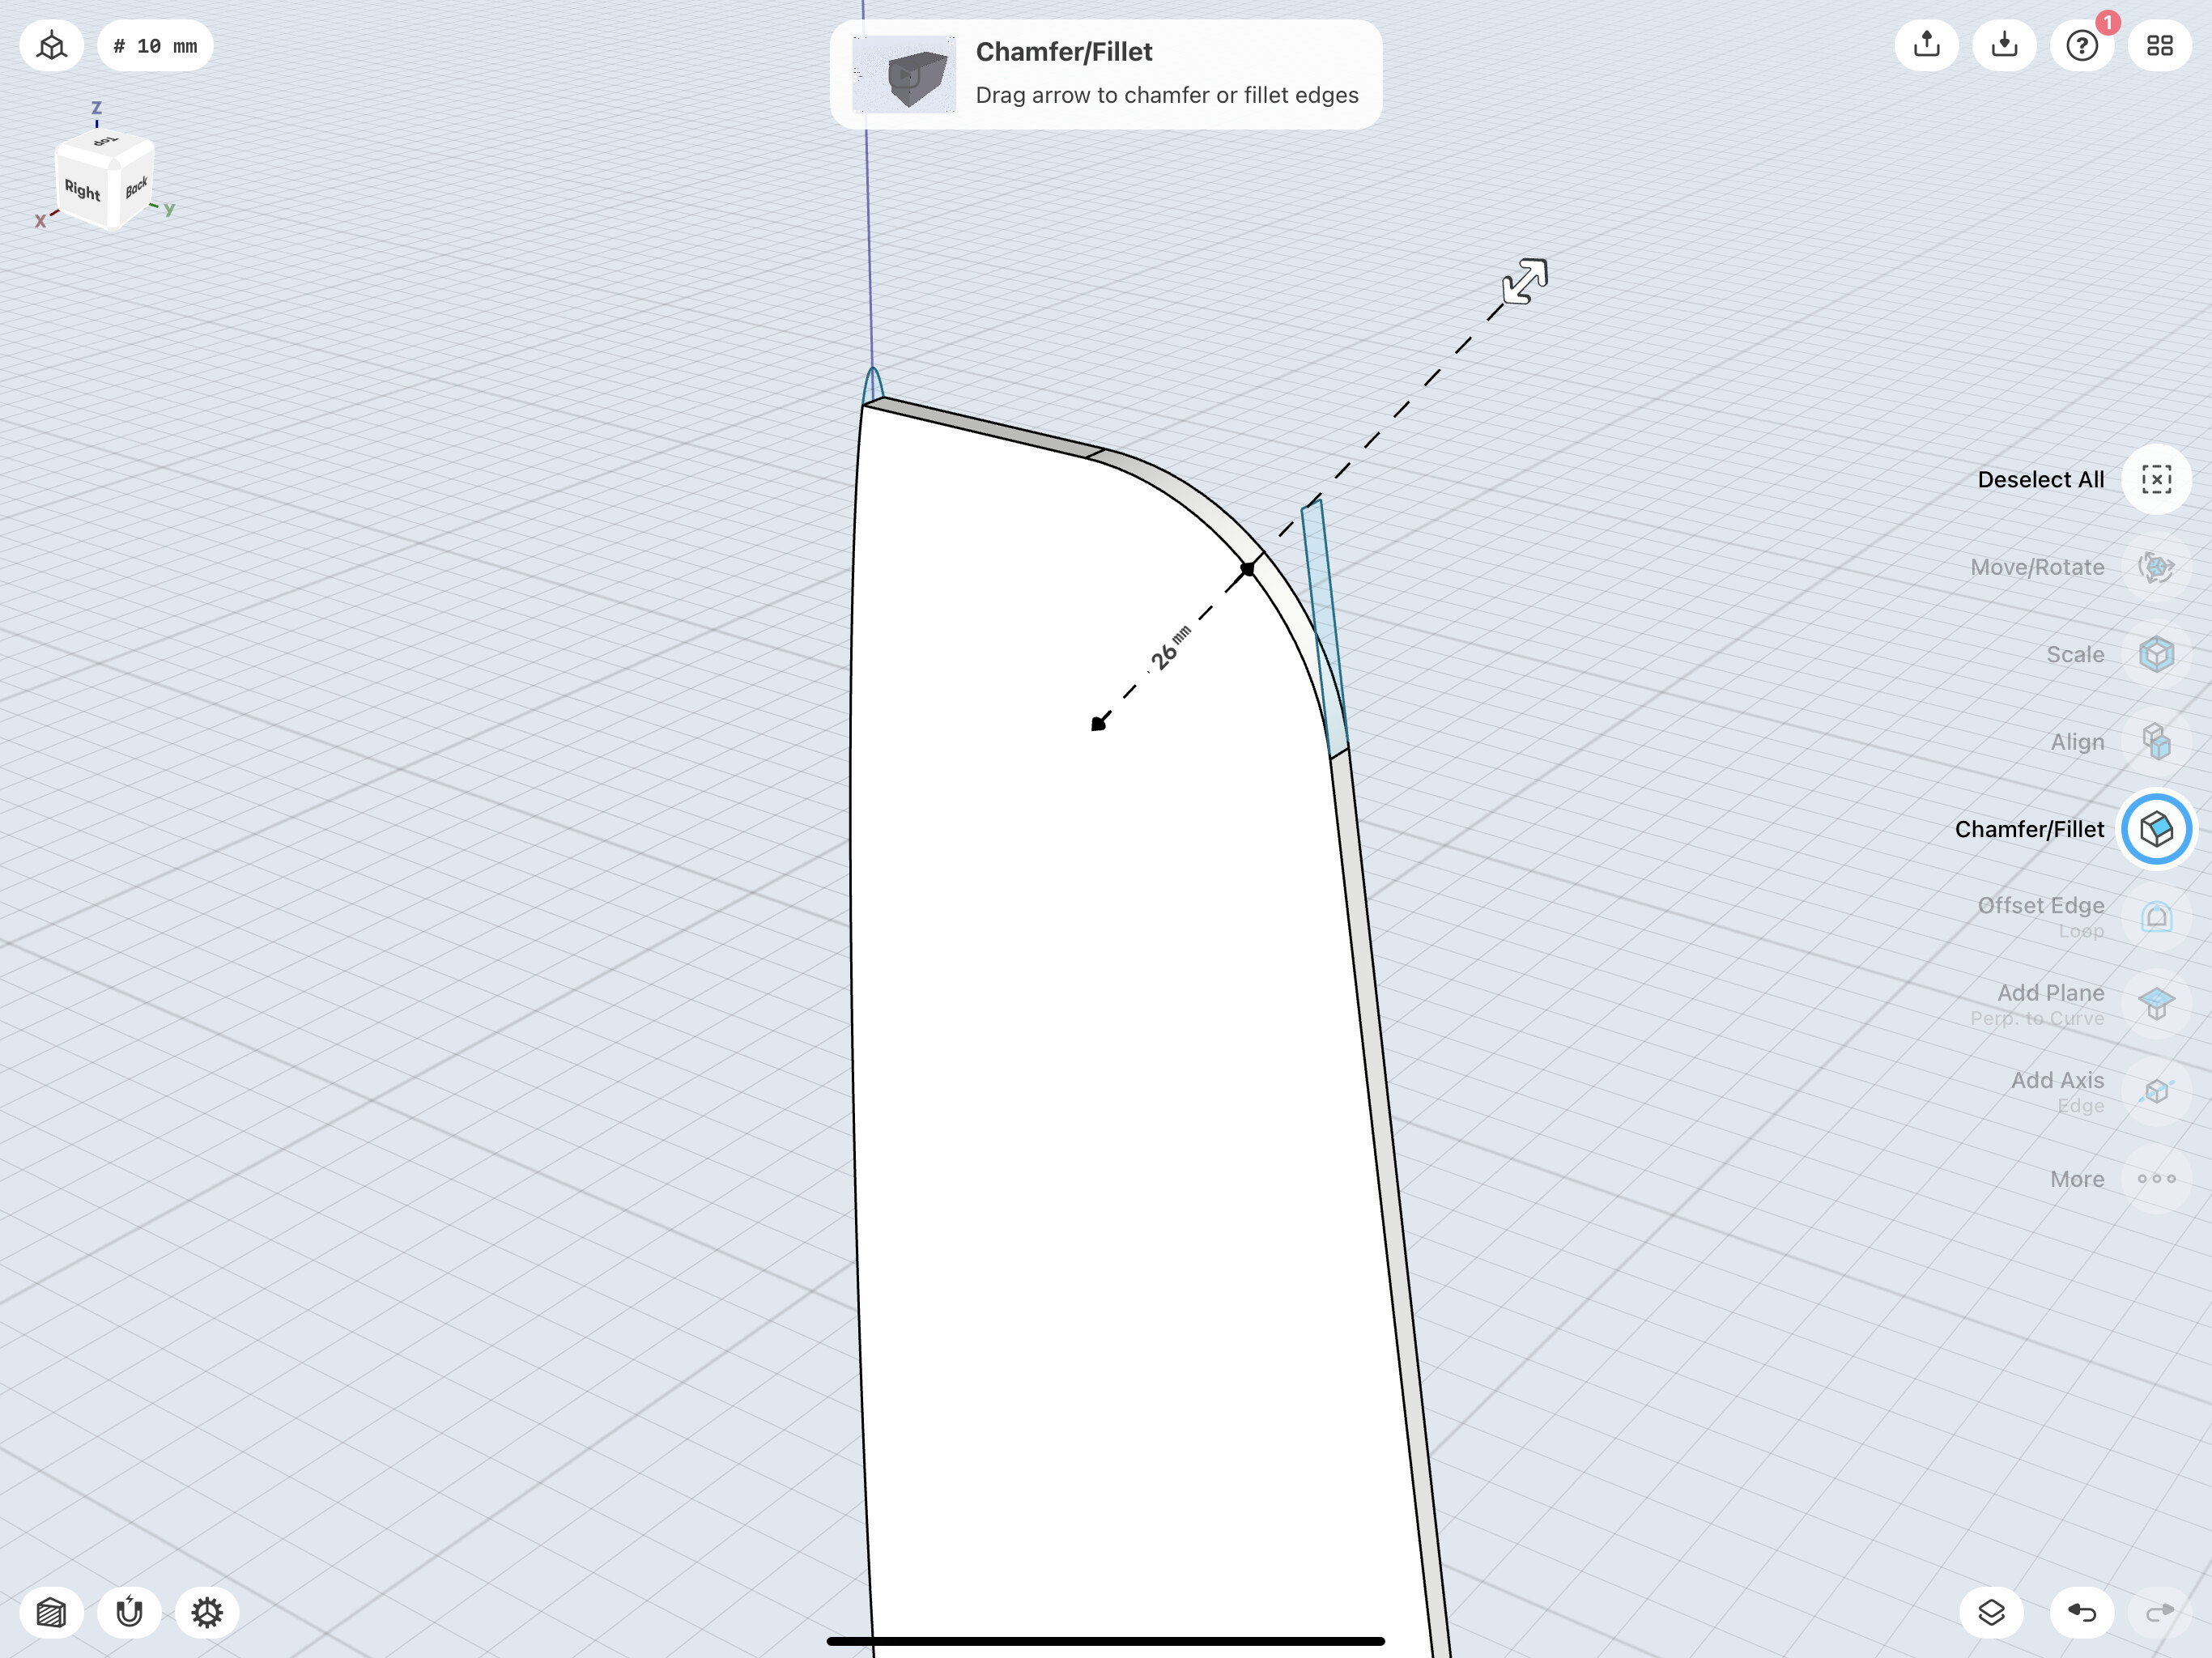
Progress goes well continuing the design with my newly acquired iPad Pro version of Shapr3D. However there is one part that provides a modelling challenge that I like to present here. I would appreciate your advise on the matter.
The part concerned is the rudder which (for the moment) has a flat surface mating with the fuselage. The outer rim has a chamfer radius of 1.5 mm. The surface to the side of the fuselage is made up of two circular arcs. From the chamfered outer rim to the flat surface (at the fuselage) there is a continuous surface (on both sides). The max. width of the rudder is 12 mm, the height 190 mm en the length 72 mm.
Best regards, François M.J. Adang
(retired 2015) mechanical engineer