Hi, new and naive to Shapr3D. I am trying to do something i believe must be simple and will no doubt get it once ive played around for a bit but some quick help would be most appreciated.
I am trying to design a stretch awning for a restaurant and need to be able to pull/stretch from specific support points
Hope someone out there can send me in the right direction.
Hi @Willis Welcome to the Forum.
Not sure that there is a right direction.
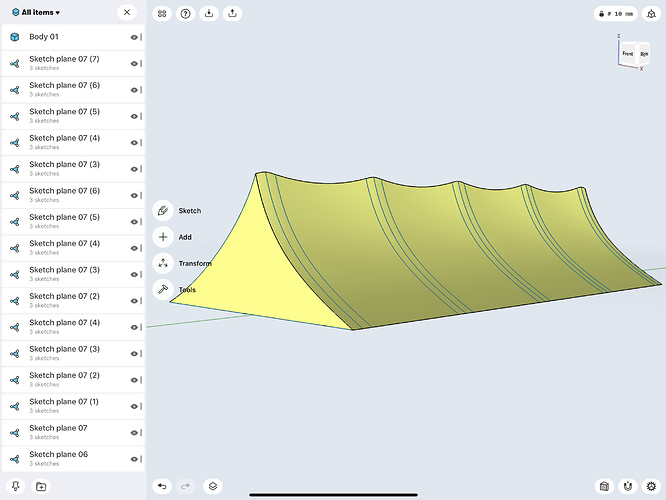
If these are anywhere near your expectations they could be a starting point:
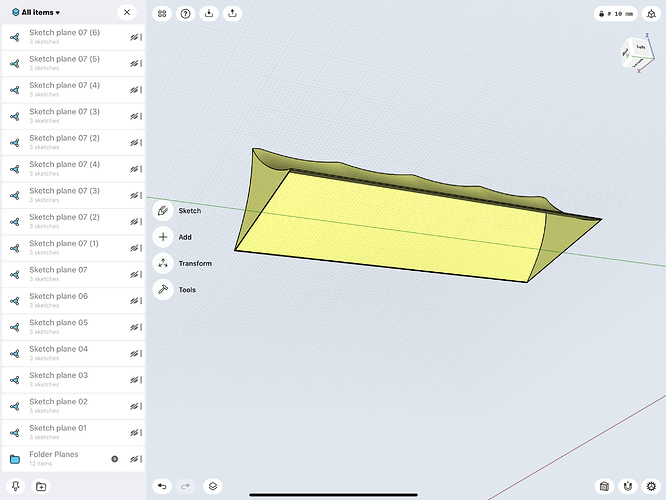
In the above Tools > Shell was used to remove the unwanted fill.
Using Apertures for the Support Poles will enable some deformation:
This Link should provide the info to produce the desired shape:
https://discourse.shapr3d.com/t/make-a-curved-leaf/6484
The tent was created from a cubical Body and circular Closed Shapes were used to form the concave areas. Transform > Move/Rotate was used to move the Aperture Edges up or down.
Transform > Move/Rotate > selecting the + Copy Option could produce:
Tools > Subtract > selecting the Keep Original [top left] if required.
S3D is very versatile, the above are only my take in this instance.
Experimenting is highly recommended.
Happy S3Ding
Thanks for that, really appreciate the effort you’ve gone to.
I will have a play tomorrow and see where I get but there is indeed a ‘direction’ to follow.
What you created shows some promise towards where I need to be.
Though being stretch fabric it is a bit more ‘fluid’ and perhaps more difficult to recreate than I thought.
Let you know how I get on!
Cheers again
@Willis
Looking forward to your result(s).
It is certainly worth looking at alternatives I will try something that has just surfaced, in the grey matter,
and if it looks worth pursuing it will be Posted here.
Thanks for posing this task, for me that is what it is all about 
This first attempt gives cleaner, but not much different results, by Tools > Lofting:
Tool > Shell was not playing ball with this sharp featured Design, instead apply Transform > Scale 99% to the Inner Body, then Tools > Subtract:
It may be worth experimenting with closely spaced Loft Profiles to give a more controlled appearance.
Note in the Loft the End Faces remain square to the base.
This somewhat regimental but hopefully will convey the idea, the Profile Edges have been left visible:
Profile Height Difference: ________________________Exported as an Image:
Interestingly this regimented Loft accepted being Shelled and provides a much tidier appearance:


