@ElT
These are my suggestions for you to start afresh.
Where Names are suggested please choose something that is meaningful to you. This will enable rapid recognition and assist smooth progress.
If you need a closer look at the images below just Tap to enlarge.
-
Start a New Design and choose the Import File option
-
Choose the original .Shapr File named Dichtungsring.Shapr [Sealing Ring]
Note: This File needs to be located from where you can conveniently Import it into S3D. -
Next Add > Construction Plane > choose the Offset option, selecting under Offset from Face [top centre Info/Assistant Panel] one of the suggested items] the Octagon Shape is an ideal choice. Drag the Double Arrow upward to, say, 2,000mm:

- Remember that this is creating a new File, Dichtungsring.Shapr remains at the location it was Imported from. With the original safe and sound the ‘copy’ can be freely altered to remove unwanted content in the interest of clarity.
In the following the Selected Items can be Deleted:

Note: the Item displaying the Asterisk is a fragment of Seal, the Seal to the left is not used or useful and the Octagon has served its purpose for the task ahead.
- Double Tap with a Finger on the Construction Plane and Sketch a Rectangle as shown. A suitable name for this could be the Subtractor provider [?]:

- Delete the Construction Plane, as it has fulfilled it’s purpose.
Next it is a good idea to Name Items with something more meaningful than Folder or Sketch Plane, in this case Subtract and Seals have been used:

- This is how the Subtractor Provider, in conjunction with Tools > Subtract, is used and then Hidden, maximising the view of the important part of the Design:
The only things that have to be added from this point onward are copies of the Seals.
It was intended that this would be the end of this session.
- The following is a revised MO for manipulating the Original and Copy Seals. Place the Seals into separate Folders, to do this first Deselect and the Reselect to gain access to the Add Folder. Note on the left the + Folder is Greyed Out, on the right it is available for use. SEALS contains ORIGINALS and COPIES


- Copy and Subtract as previously, expect the process to slow down when additional Bodies are present. Then remove the unwanted portions of the Seals


GeezVersionOfSealingRings.shapr (2.9 MB)
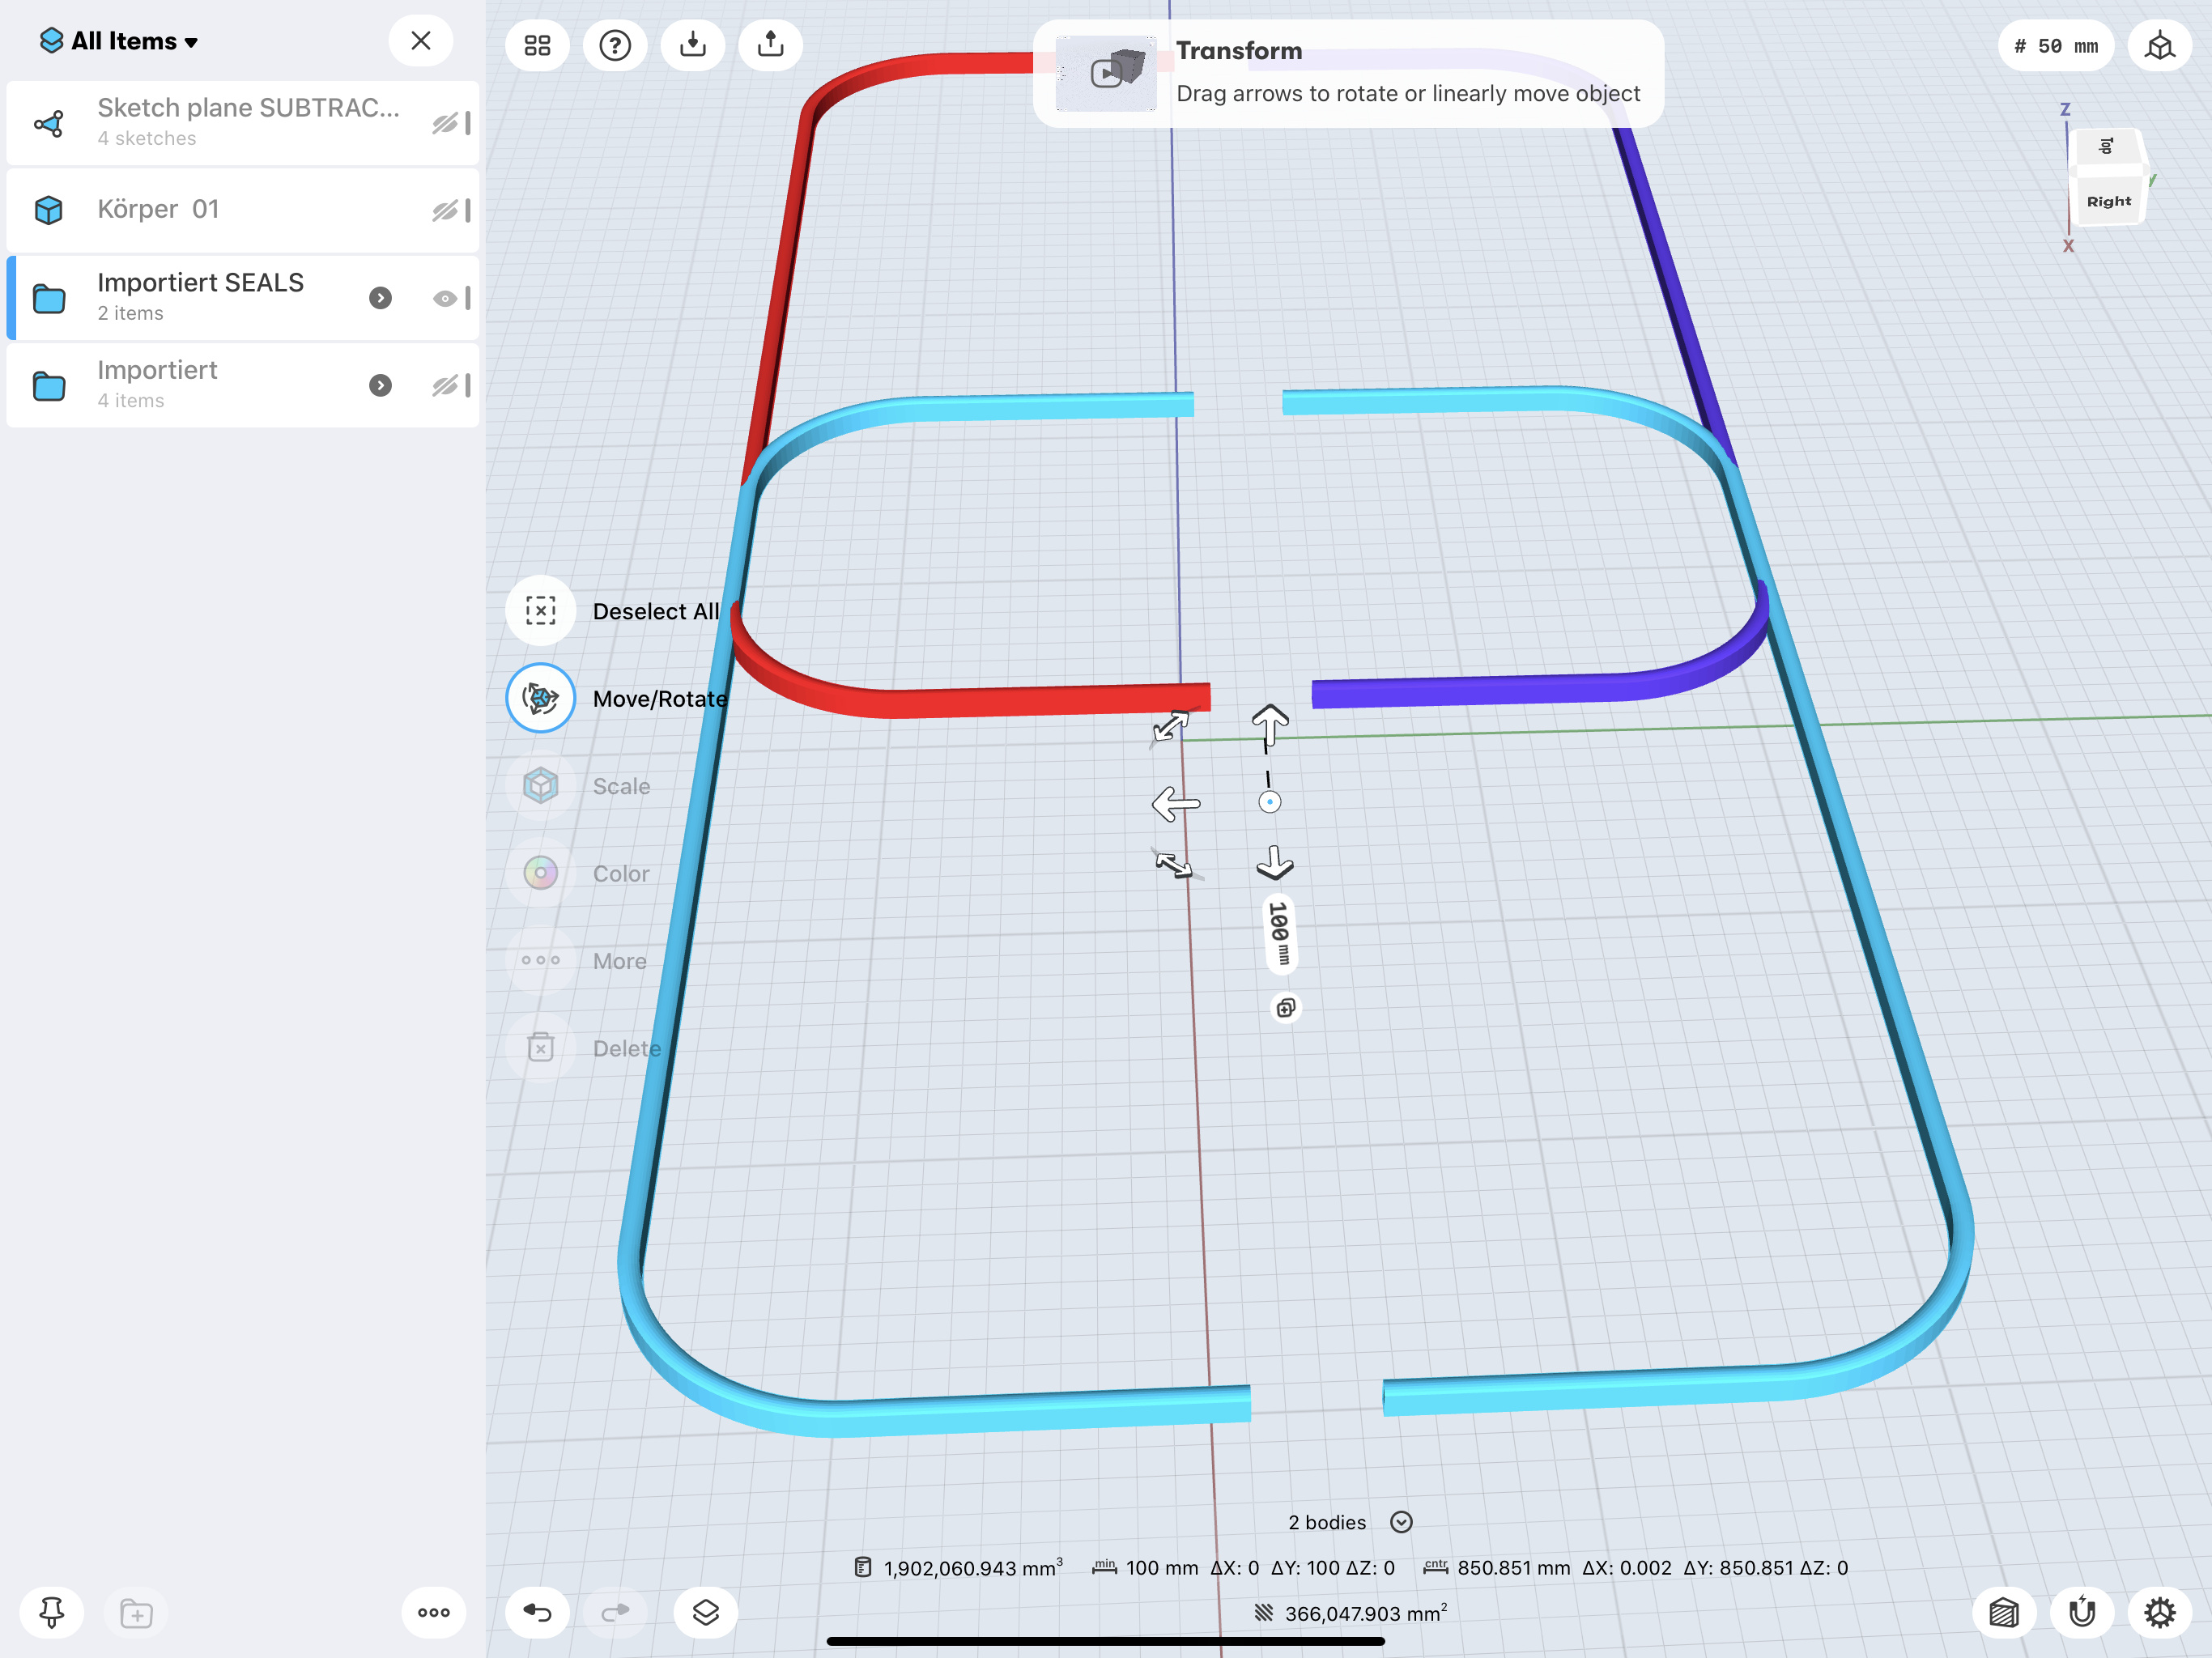
- Select and Move as shown:
NB. In the previous scenario I omitted to include the equivalent of this process.

- Reposition the Subtractor Provider noting the repositioning vertically:


- Subtract, Select appropriate pairs, and Move them as shown:


- Select all 4 portions and Union
If the portion of Seal closest to the Z-Axis has not been moved, during the above processes, Importing the Dichtungsring.Shapr should all but hide the New Seal:


GeezVersionOfSealingRings.shapr (2.9 MB)
Please remember that in the above there is a Bug [?] that causes STP Bodies [?] to lose assigned Colour and revert to Default Colour after using Tools > Subtract. Where this occurred the assigned Colour was replaced where appropriate.